 When my husband and I moved into our new house, we needed bedside table lamps. My mom had these sitting in her house and offered them to us. Free is always better than not free, so I took them, but I've never really loved them. Plus, with our new white and gray bedding, they really didn't go. This picture really doesn't do justice to just how ugly they were.
I decided to paint them and figured if I screwed it up, then I could go buy new ones because again, these were free, and I really wanted to replace them anyway.
I started by bagging and taping the important parts of the lamp - the bulb and switch and the cord. I put a sandwich baggie over the bulb and then folded a page of a magazine in half and taped it around the base. My lampshades were big enough to cover anything that didn't totally get painted, so I wasn't too worried about it.
Try not to be too jealous of my hot pink duct tape. It's pretty awesome. ;)
 I used Valspar spray paint for this, but only because I had it on hand in silver. We had thought about doing a non-metallic color, but again, free always wins in our house.
When I read the directions on the spray paint, it said to sand a glossy surface first. Well, I am lazy and, AGAIN, if I screwed this up I didn't really care because free lamps are free. So even though the lamps are some kind of metal and the finish on them was shiny, I didn't sand it down.

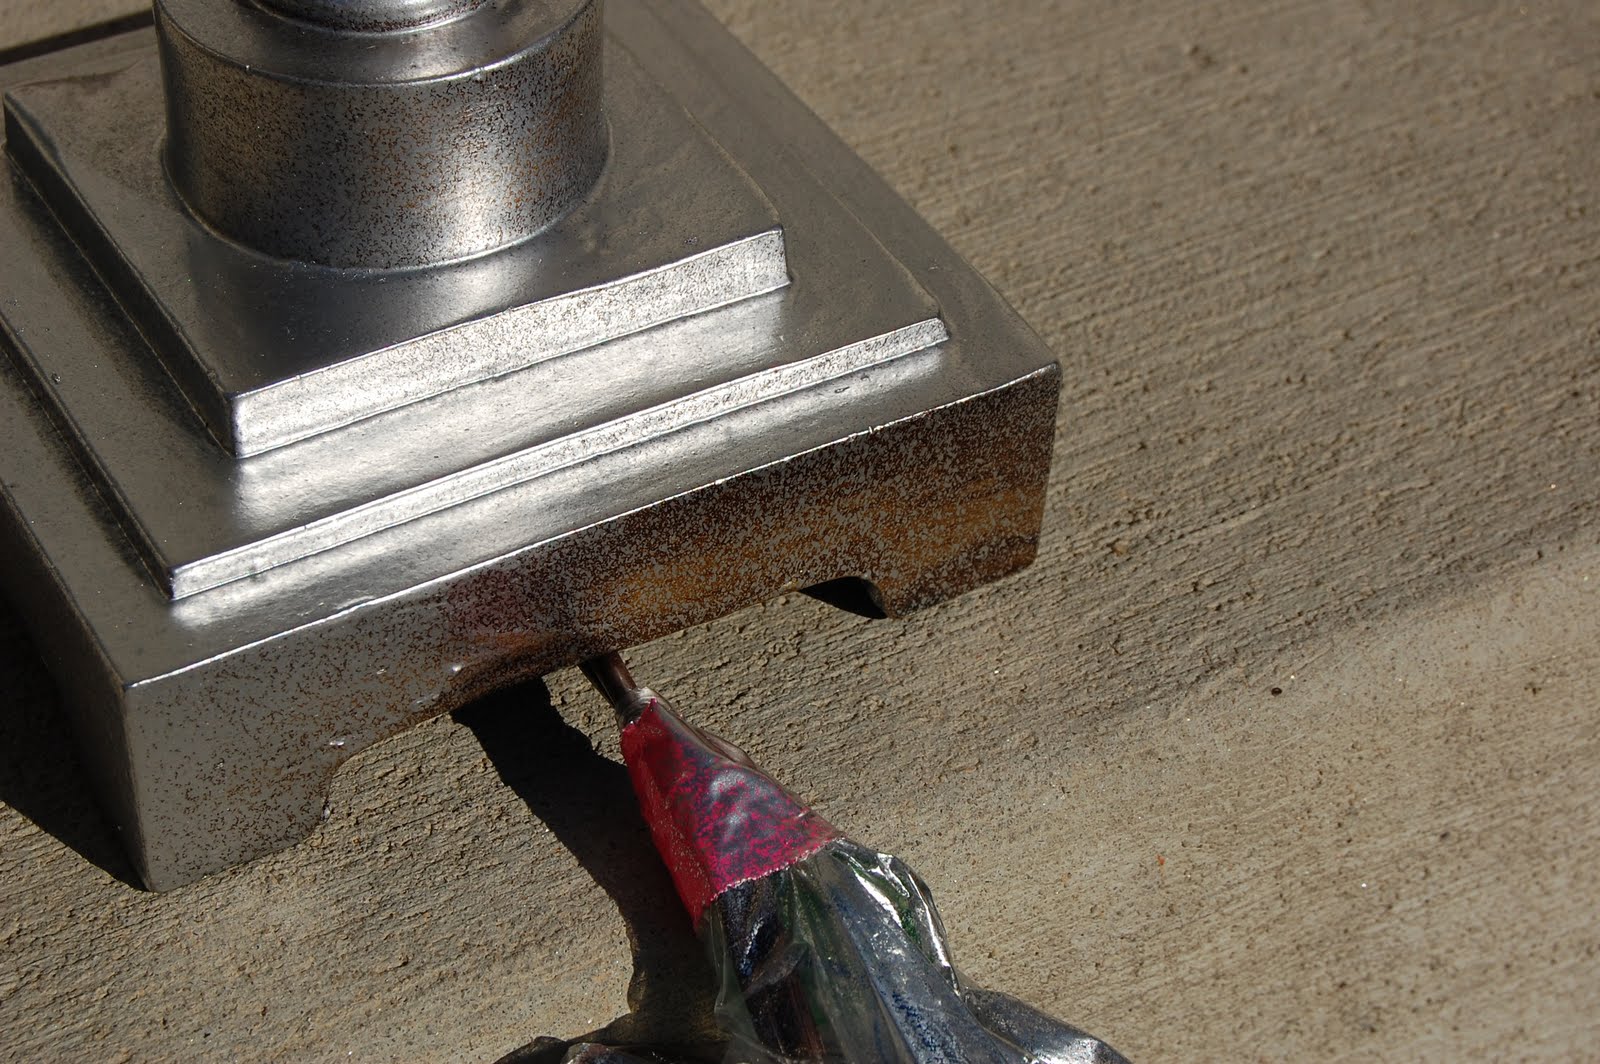
Now, see how the paint is not covering the surface evenly? I think it would have covered better if I had sanded it down.

This is what it looked like after one coat. I was originally going to do two or three coats and make it a smooth, even finish but I actually kind of liked this look. It was antiquey and, as mentioned before, I am lazy so that was good enough. If it annoys me in a few weeks, I can always repaint it again.
 One helpful hint - try to make sure you get every part of the lamp as you are painting if you only want to do one coat. I didn't get this part and figured I'd get it with the second coat, but then decided not to do the second coat, so I had to make sure this part of the lamp faces the wall.
I like these SO MUCH BETTER. It just goes so much better with our room and our bedding and it lightens everything up. My next project is to figure out what to do with the lampshades - I was originally going to replace them, but now I am thinking of maybe just embellishing them a bit to tie into the bedspread. We'll see what happens!

You can see a better view of the "antique" finish here. I don't mind it, but you may want to do the second coat for a smoother finish.
No comments:
Post a Comment